 |
Ultra Fractal Gradient Hints
Working with the color gradient editor in UF was a puzzling experience to me at first (changing as I have from one Fractal program to another) but it is really so easy and logical once you learn a few basics. Although you can modify an already existing gradient, I've discovered how easy it is to make a new one.
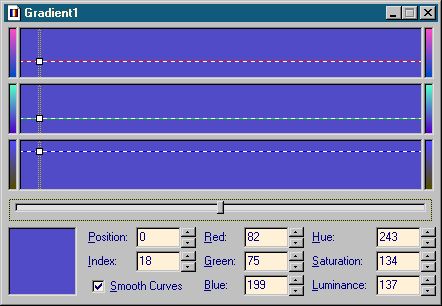
Choose File|New|Gradient which will bring up a copy of your default gradient. Click Ctrl+A to select all the points then Ctrl+Del to delete them. The gradient editor will now be black.
Click in the black square in the bottom left corner which will bring up this color picker thingy. Choose a nice color.
When you click OK . . . the color is inserted at the control point on the gradient editor
Now either Ctrl+click in the gradient editor (or bring up the right-click menu) which will allow you to insert a new control point.
I inserted a new point and made it black by pulling the red, green and blue points down to the bottom.
Now add some more points and make them any colors you want. Play around with the spacing by dragging the control points right and left. When you're done, save it with a meaningful name :)
Now create a new fractal image or open up an existing par. You can copy your new gradient by doing Ctrl+A to select all the control points and Ctrl+C to copy. Open up the gradient associated with your fractal and (of course) Ctrl+V will paste the new gradient in.
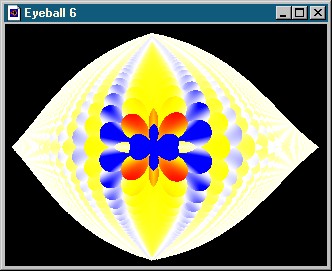
Rotate the gradient until you find a look that you like and Voila! You have a much prettier image than before!
I made this Paul Carlson-like rainbow gradient the same way. It reminds me a lot of the FractInt color maps that I learned to make from Linda Allison's great tutorial. After I made this one, I brought up the HSL editor (Ctrl-H) and made each of the colors "dusty" or "muted" by pulling the middle (Saturation) controls down a little bit. Then I made a pastel metallic set by pulling each of the bottom (Luminance) points up a little bit.
Here are some other short-cut keys and features:
- You can select multiple control points by dragging a rectangle around them, or pressing Ctrl+A. Then, you can drag them together to the left or to the right, or delete them by pressing Ctrl+Del.
- The right-button menu offers a few more choices than inserting and deleting: Eyedropper will let you pick the color from any open fractal window, and Random randomizes the selected color. (If you select multiple control points, only the leftmost will be affected.)
- The entire gradient can be randomized by pressing Ctrl+1, Ctrl+2 or Ctrl+3.
- To adjust the colors in the entire gradient, choose Adjust from the Gradient menu. This invokes a new dialog with sliders to adjust the red, green, blue etc. parts of all control points.
Once you have made a few new gradients, you can choose (under Options|Options|Default) to make one of them the default when you start UF.
I have created a few gradients as I've gone along and they are here (save as "jp.ugr" file in your UF main or gradient directory). You're welcome to them. I hope they'll give you a jumping off place for creating your own. Now that I know what is happening, I have much more control over the colors than I've ever had in any other fractal program.
Back to UF Tutorials


